


Brick City Lab
Visualizing Great Streets in 3-D

It’s one thing to be hear a lecture about great streets. It’s a different thing entirely to get a feel for how one lays out with real constraints—and even better if you can do that in 3-D. That’s the point of the Brick City Lab.
The Origin of the Brick City Lab
I can’t take credit for the idea myself. Last November, Ryan Martinson did a LinkedIn Post about a Lego workshop he did for the Developmental Disabilities Resource Centre of Calgary to talk with some of their clients about the struggles they were having with a local crosswalk. That combined three of my very favorite things: transportation design for people walking and biking, disability advocacy, and (of course,) Legos!
I realized when he posted that I’ve been working on a Lego Christmas village for the last few years—that would make a great start to my own lab!! So, over Christmas, I ordered several of their 3-story city building sets and a few street panels and began thinking about how I could use it to work with my own disability groups locally. When I attended the YPT Christmas party here in Orlando, they invited me to come speak in the spring and I realized it would be just as good a tool to teach young engineers and planners what it looks like to design a good street.
In the meantime, Marco te Brommelstroet in the Netherlands has been working on getting street plates printed with bike lanes!! Too cool!

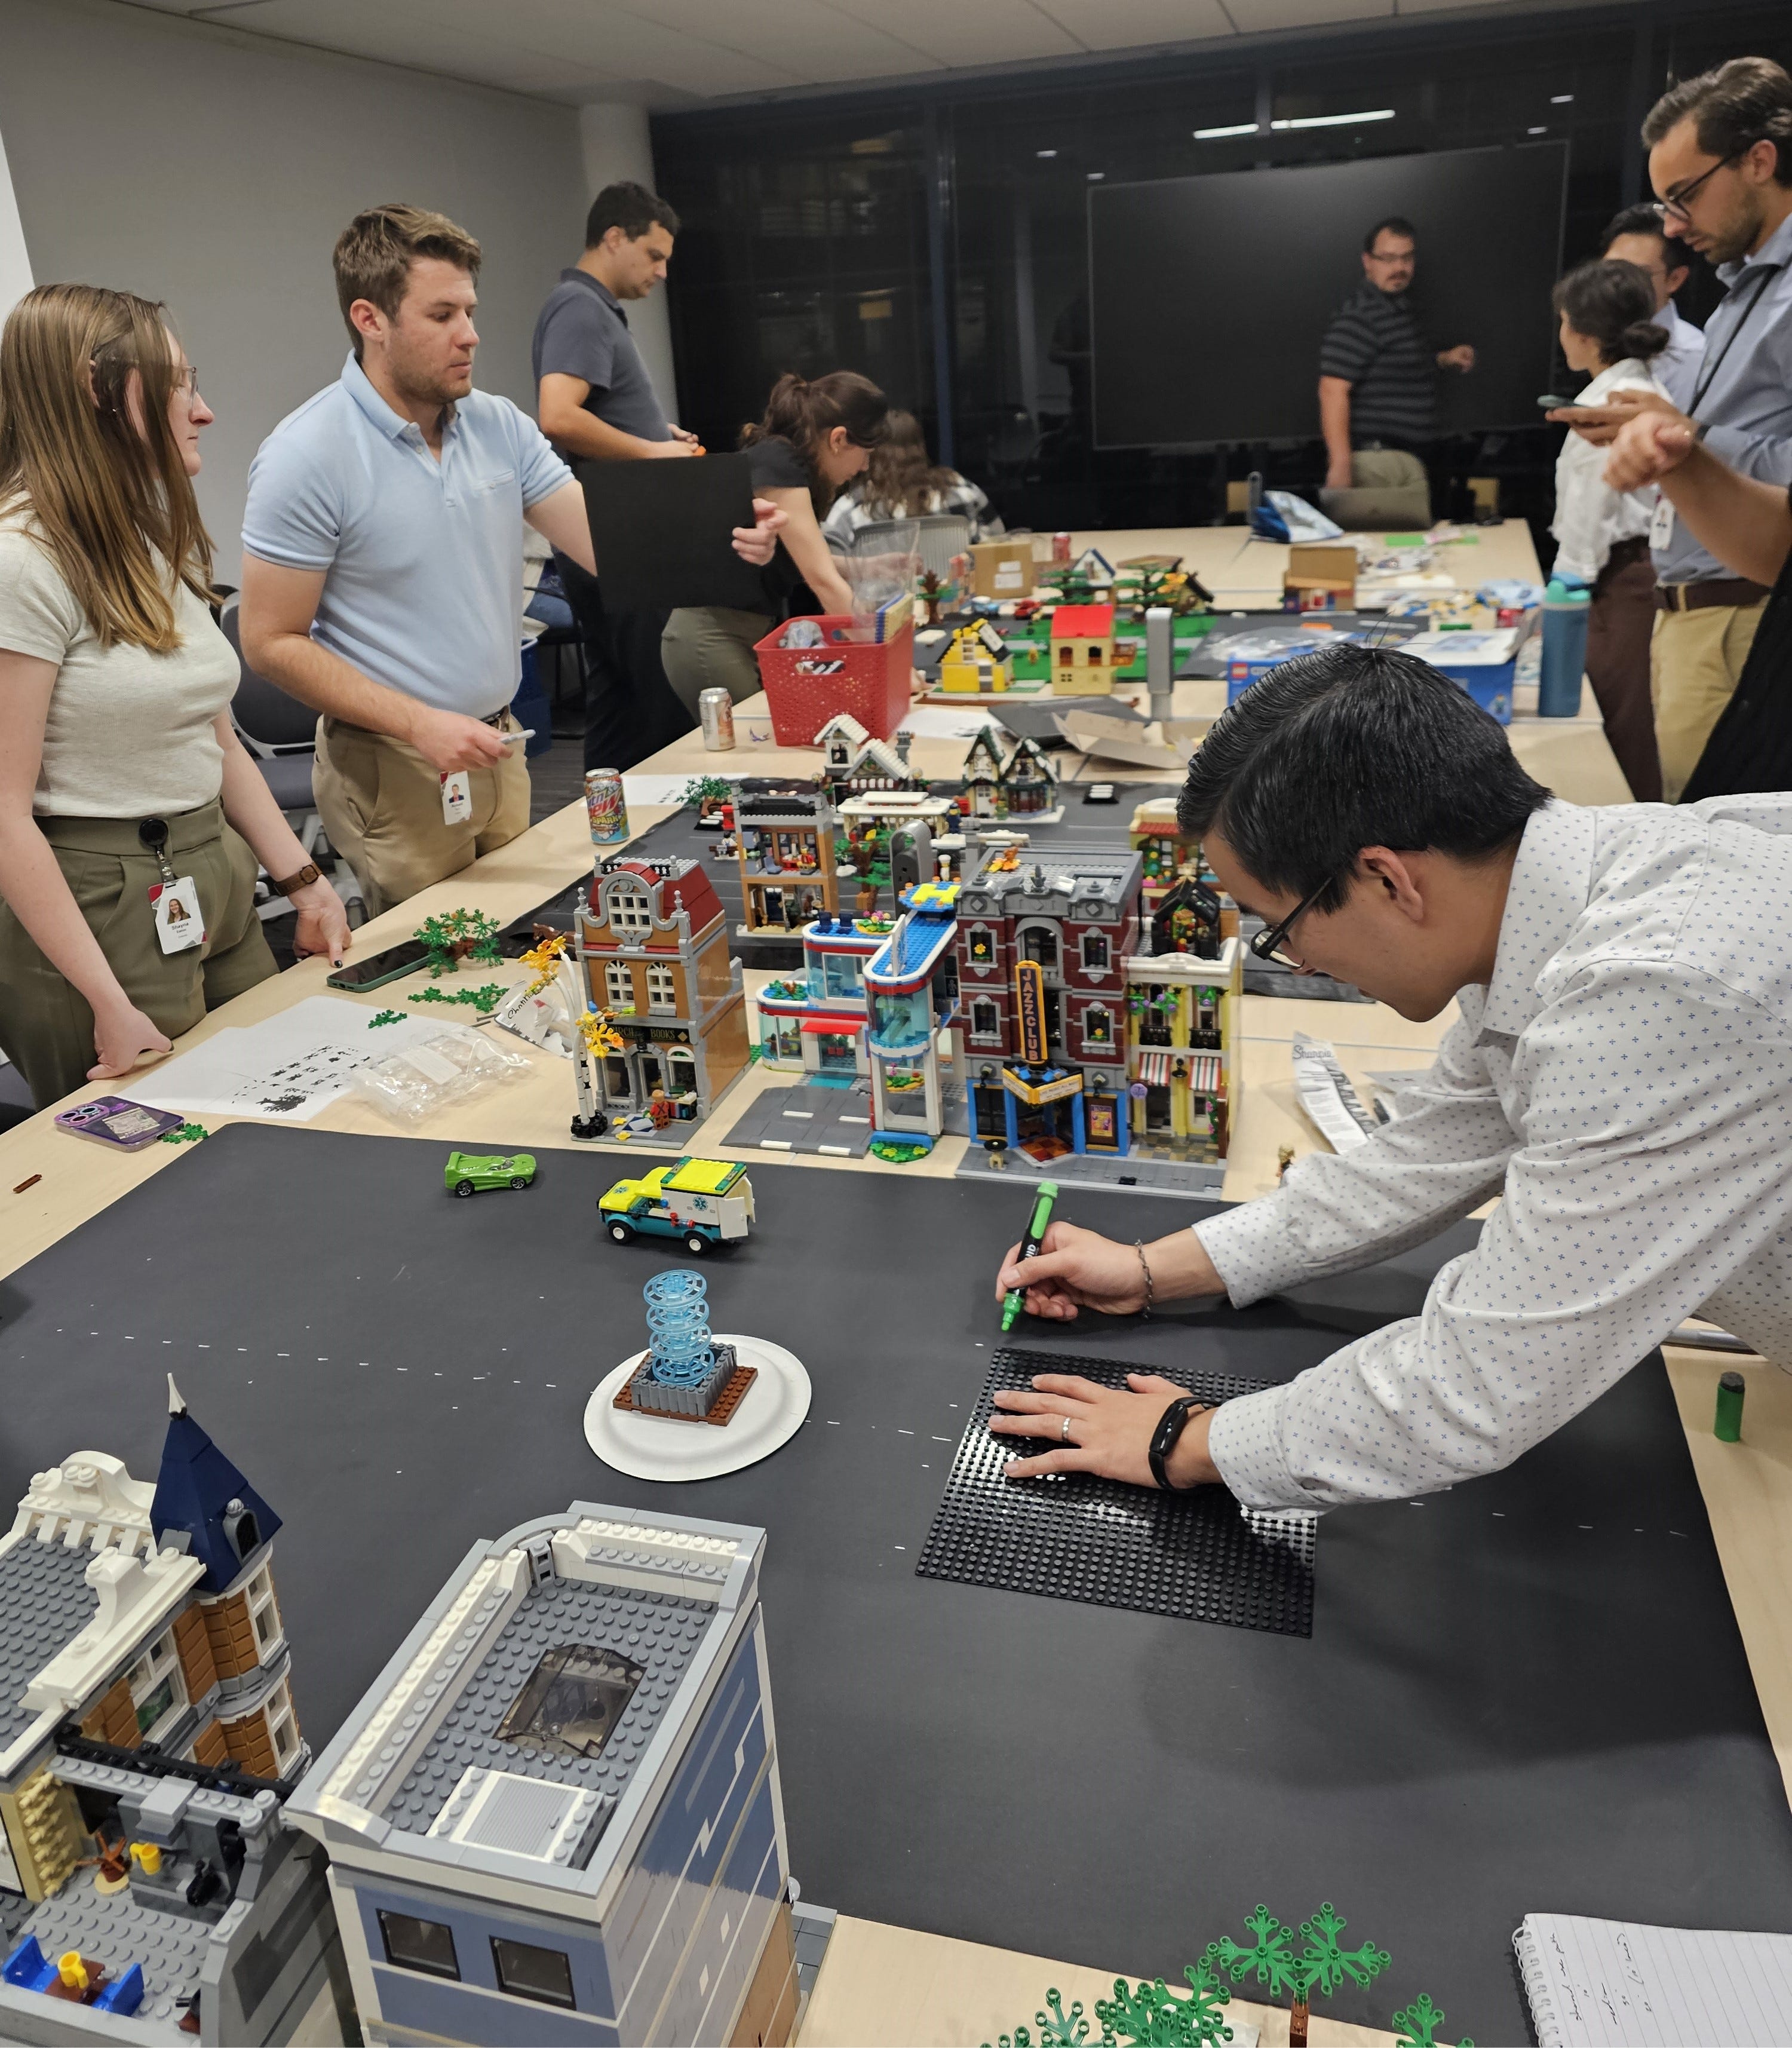
I tried the street plates I had ordered, but they didn’t allow for a lot of flexibility—particularly if I was going to use this for budding urban designers. After extensive research, I figured out that if you use the “Friends” minifigure scale, one stud is 1 foot square, and each stud is 0.8 cm—that’s something I can work with!! After a bit of futzing around, I figured out that a roll of black butcher paper would do great for a street and silver markers would show up beautifully as striping. Add in a bunch of random Lego pieces and a ruler (or a few base plates for scale) and they had complete freedom to design anything they wanted.
Brick City Lab: Orlando YPT
We started the evening by going over the 7 mental frameworks quickly so they could understand what it will take for drivers to slow down and engage. I laid out several brick sets for them to assemble while I was talking, but not much assembling got done! They were so very attentive. Then I gave them 3 different exercises to see if they could use what I had just taught them.
I want to give each of them their own post so you can see the immense creativity they brought to this exercise but as a teaser, here are the three exercises I gave them:
The Residential Traffic Calming Problem: Here in Florida, most residential streets are 24 feet wide from curb to curb and then there’s usually a 25-30 foot setback from the edge of the ROW, which is usually the back of the sidewalk. Using standard 10” by 10” (32x32) plates, I laid this out as the initial condition, with the fronts of the houses (not including porches) at the edges of the plates. Ignoring the gutter, that works out to a 27’ setback counting 1’ for the curb, 2 feet for the existing tree lawn and then 5’ for the sidewalk—which is pretty typical. That also means 96 feet from building face to building face. If that gets left that wide open, with nothing vertical but the houses, it makes for a very fast moving street. Assuming a 600’ block length and about 2.2 doorways per 100’ of block face, that’ could give you an estimated speed of 47 mph—and I’ve seen residential streets that weren’t far from that type of behavior. Challenge: Shift things around so that the neighbors can feel a bit safer walking down their street.
Greenfield and Quaint: You’re making a new retail center from scratch and you want it to be a beautiful shopping experience for everyone that feels very old-world. You can use a trolley system to connect up all the neighborhoods, but there will be some people who want to park close by. Otherwise, you can do anything you like! Challenge: Build a thriving downtown center from the ground up.
Street-facing Retrofit. Architecturally, you have good bones to work with. The buildings all face the street and the density is quite good—3 story typical. Unfortunately, it was built with 110 feet between the building faces so it’s really hard to get people to want to hang around and shop in the area because the traffic goes by so fast. Challenge: Reallocate the space to prioritize walking and biking so the shopping can thrive.
This week I’m going to work on editing their video descriptions so I can post them on my YouTube channel and then do a separate post for each one. In the meantime, think about how you would address each of these challenges. Can you think of other design challenges that I could pose next?
I also want to thank Laura Eng, Jimmy Mai, and Tyler Valila for the generous invite! That was an amazing way to kick off a great new tool!